
Glendale Epoxy Pros
Polyurea Floor Coatings in Glendale, AZ
Flexible polyurea floor coatings for Glendale, AZ slabs with thermal movement. Fast cure, crack-bridging, free estimates.
- 15+ Years local experience
- 500+ Projects completed
- Licensed & Insured
Serving Glendale and nearby communities.
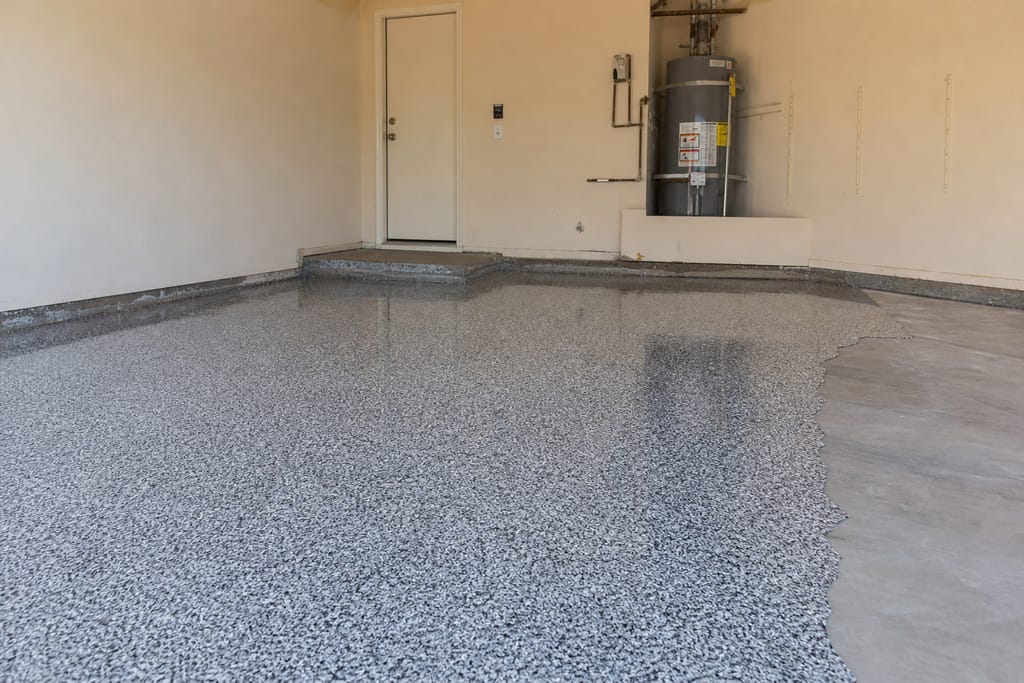
Concrete expands and contracts with Arizona's temperature swings, and older slabs around Glendale feel it the most. Polyurea stays flexible after it cures, so it moves with the slab instead of cracking alongside it the way a rigid coating can.
Glendale Epoxy Pros reaches for polyurea on floors with a history of cracking, or where a fast set time is the deciding factor on a tight schedule.
What's included
What's Included
- Typically included — grinding prep, joint sealing, polyurea base and top system.
- Optional — reinforcement layer for high-traffic zones.
- Customer prep — ventilate the space if application happens indoors.
Want a clearer scope?
Get a Free EstimatePolyurea Floor Coatings
Installation Process
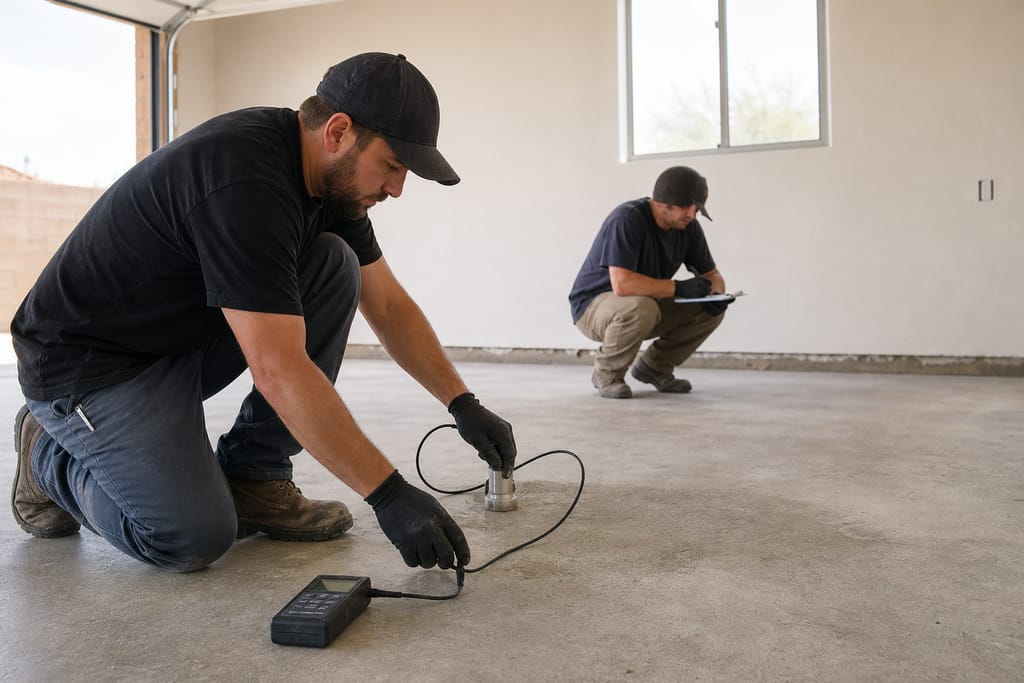
- Substrate Assessment — The concrete gets tested for moisture and strength.
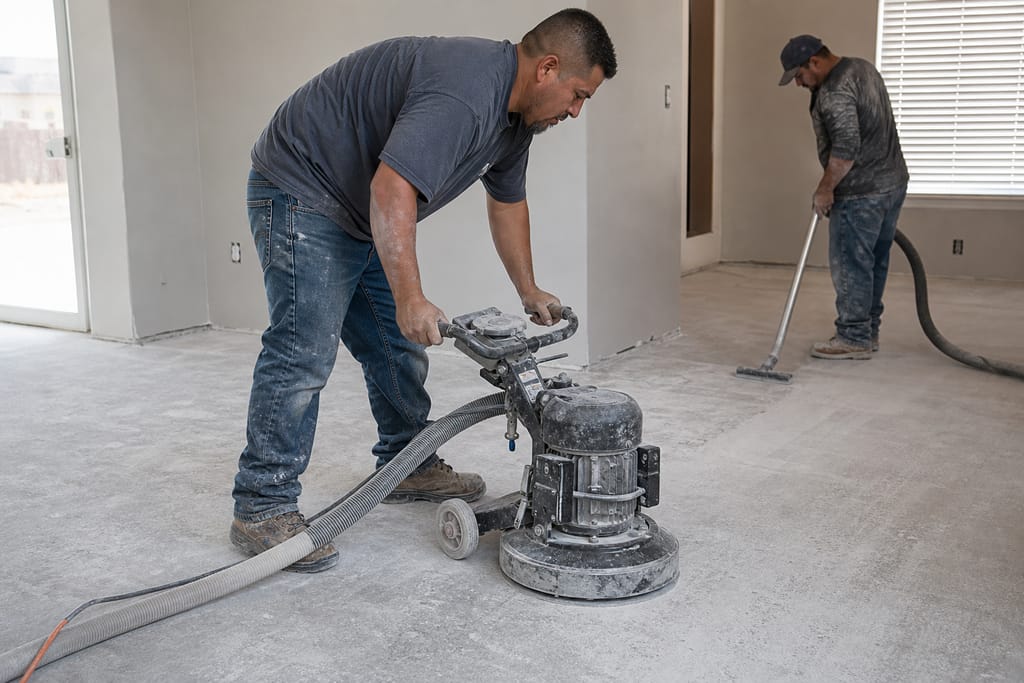
- Surface Grinding — Grinding preps the profile for strong bonding.
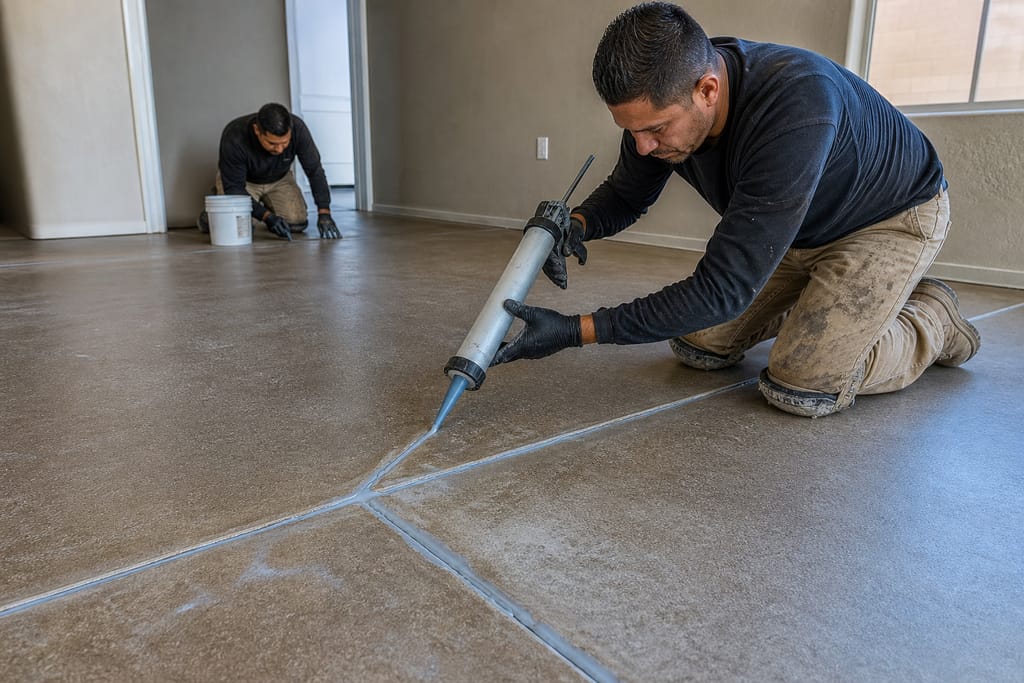
- Joint & Crack Sealing — Expansion joints and cracks get sealed first.
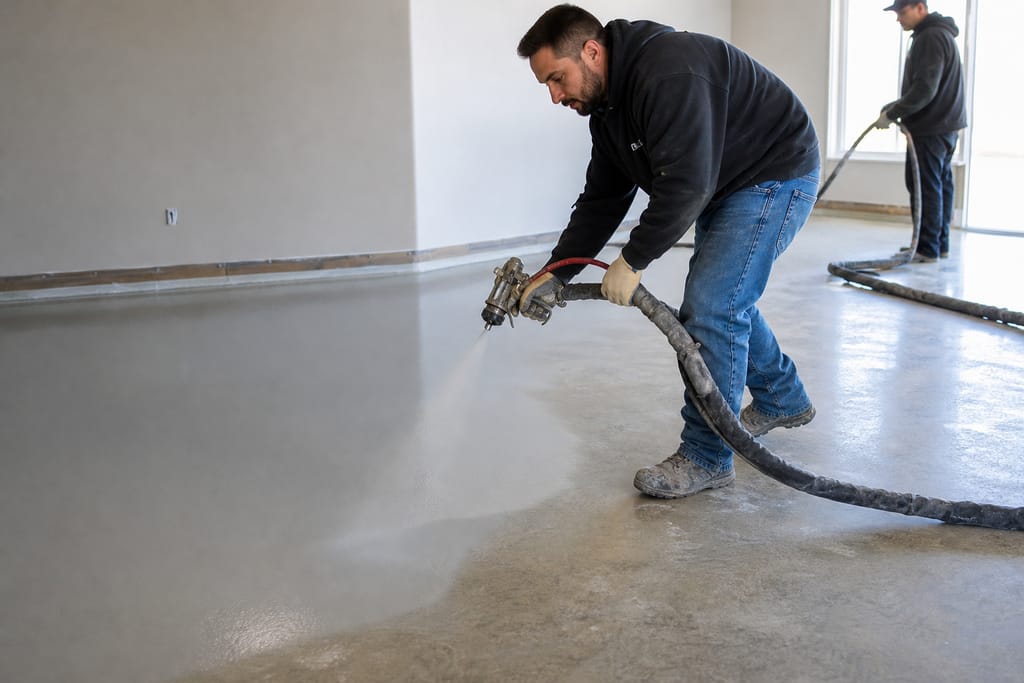
- Spray-Applied Base Layer — Polyurea goes on fast, with even coverage.
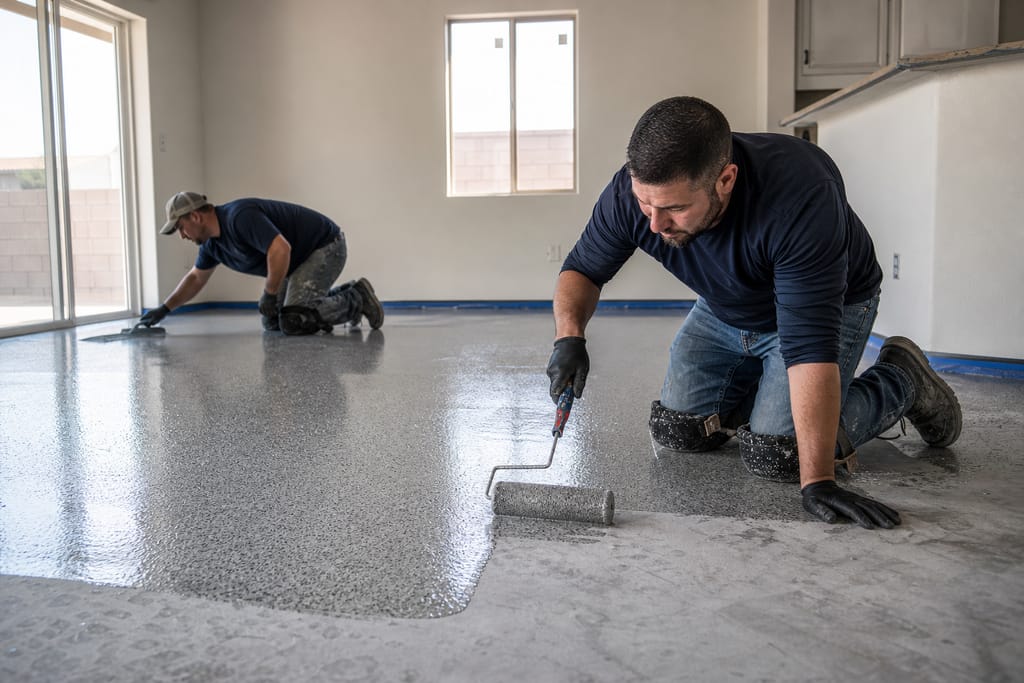
- Reinforcement Layer — Added in spots that see the heaviest traffic.
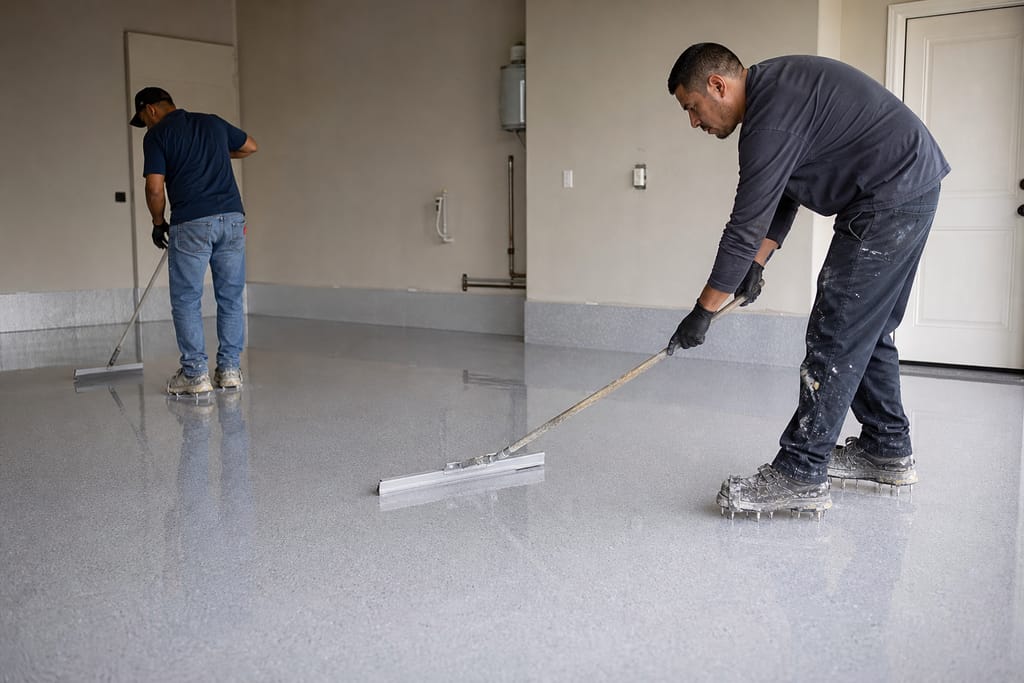
- Fast Final Cure — The coating sets in a short window, minimal downtime.
Questions about this?
Get a Free EstimatePolyurea Floor Coatings
Material Specs
- Pure Polyurea Coating — a flexible, fast-curing coating resists abrasion and holds up through Arizona's wide temperature extremes.
- Hybrid Polyurea-Epoxy System — blends epoxy's strength with polyurea's speed, a good middle option for cracked slabs on a budget.
- Thermal Shock Resistant Layer — built to handle the rapid swing from a 140°F slab to a sudden monsoon downpour without splitting.
Questions about this?
Get a Free EstimateCost
Polyurea Coating Cost
Polyurea sits above standard epoxy and roughly in line with or slightly above polyaspartic, depending on the system.
| Project type | Typical range | What’s included |
|---|---|---|
| Standard polyurea, single coat | $4,500–$7,000, | grinding prep included. |
| Hybrid polyurea-epoxy system | $3,800–$6,000, | budget-friendlier crack-bridging option. |
These are typical local ballparks — final cost depends on scope, materials, and site conditions. A free estimate gives you an accurate, itemized number for your home.
Want a number for your home?
Get a Free EstimateTimeline
Cure Timeline
Polyurea sets fast, often within hours.
- 01
Grind and repair
1 day.
- 02
Spray application
same day.
- 03
Cure to walk-on
a few hours.
Need a schedule that fits?
Get a Free EstimateDIY vs pro
DIY vs Pro
| DIY | Hire a pro |
|---|---|
| Spray-applied polyurea requires commercial equipment most homeowners don't own. | Spray rigs apply polyurea evenly before it starts curing mid-application. |
| The material sets so fast that hand application leaves lap marks and uneven thickness. | Correct mix ratios and timing come from doing this work daily, not from a how-to video. |
Not sure DIY vs pro?
Get a Free EstimateWhen to call
When to Call
Cracking that keeps coming back after a patch, or a slab that visibly shifts with the seasons, is the clearest sign polyurea is worth considering over a standard coating. Call Glendale Epoxy Pros to talk through your slab.
Seeing warning signs?
Get a Free EstimateFAQs
Polyurea Coating FAQs
Does epoxy flooring crack in extreme Arizona heat?
Standard epoxy can crack if the slab beneath it moves significantly with heat cycles. Polyurea's flexibility is built specifically to handle that kind of movement without failing.
Does epoxy flooring hold up to Arizona monsoon humidity and dust?
Polyurea and epoxy both hold up fine against humidity and dust once properly cured. The bigger risk during monsoon season is applying a coating right before a storm, timing matters more than the material.
How it works
Our process
 Step 1
Substrate Assessment
The concrete is tested for moisture and strength before coating application.
 Step 2
Surface Grinding
Mechanical grinding prepares the surface profile for strong material bonding.
 Step 3
Joint & Crack Sealing
Expansion joints and cracks are sealed to prevent coating failure over time.
 Step 4
Spray-Applied Base Layer
A sprayed polyurea base layer is applied for rapid, even coverage.
 Step 5
Reinforcement Layer
An additional layer is added in high-traffic zones for extra durability.
 Step 6
Fast Final Cure
The coating cures within a short window, minimizing facility downtime.
Materials
Materials and methods we use
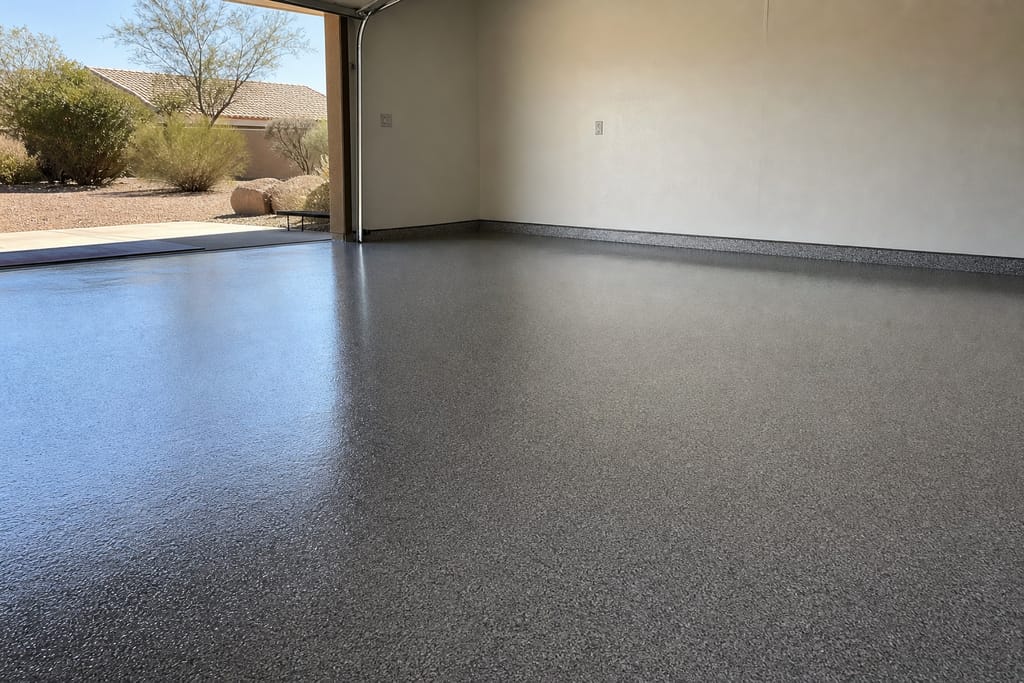
Pure Polyurea Coating
A flexible, fast-curing coating resists abrasion and temperature extremes.
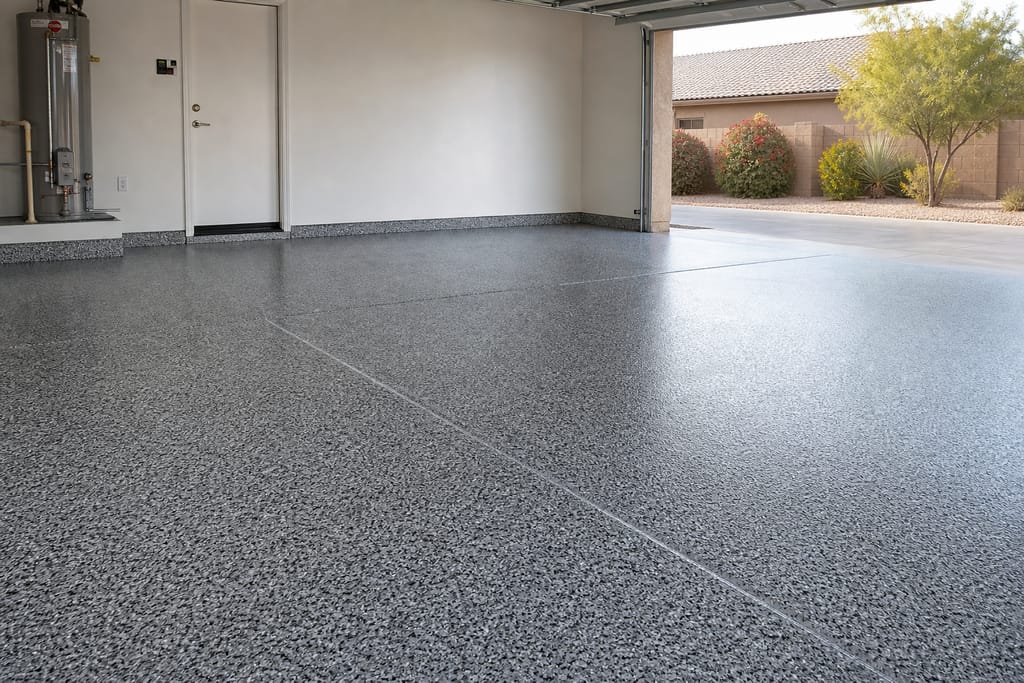
Hybrid Polyurea-Epoxy System
A combined system blends the strength of epoxy with the speed of polyurea.
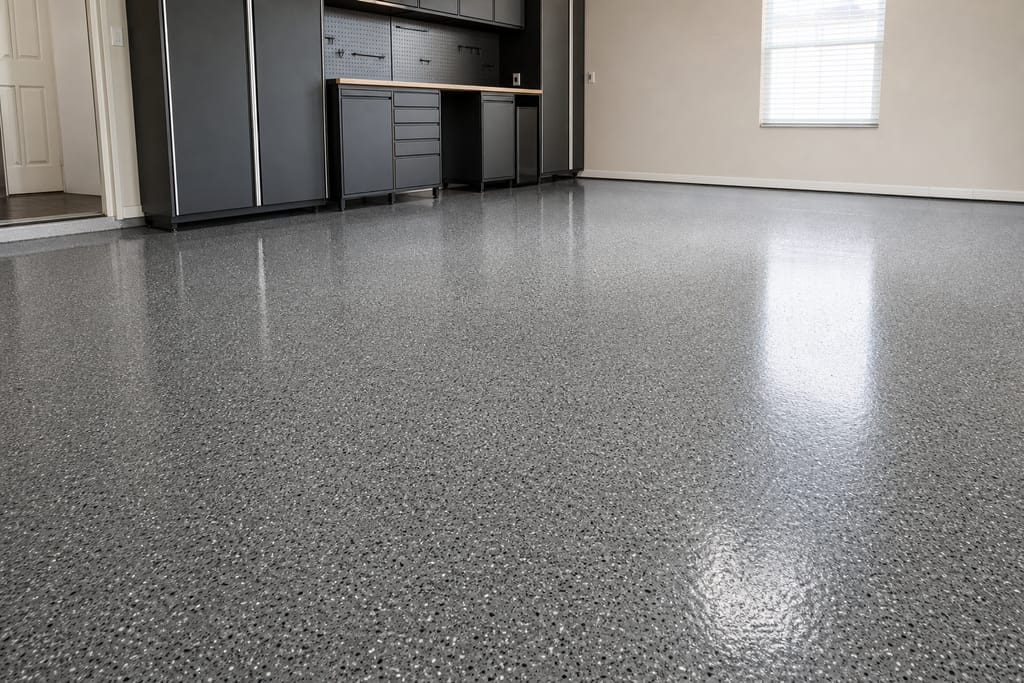
Impact-Resistant Topcoat
A topcoat formulated to withstand dropped tools and heavy equipment impact.
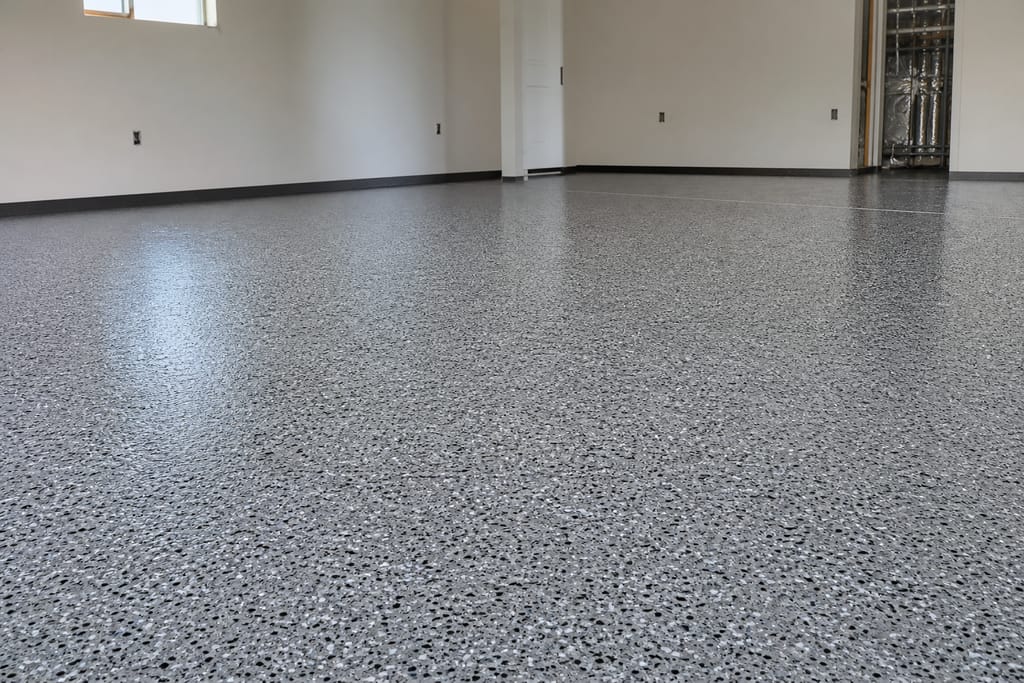
Thermal Shock Resistant Layer
A layer designed to handle rapid temperature changes without cracking.
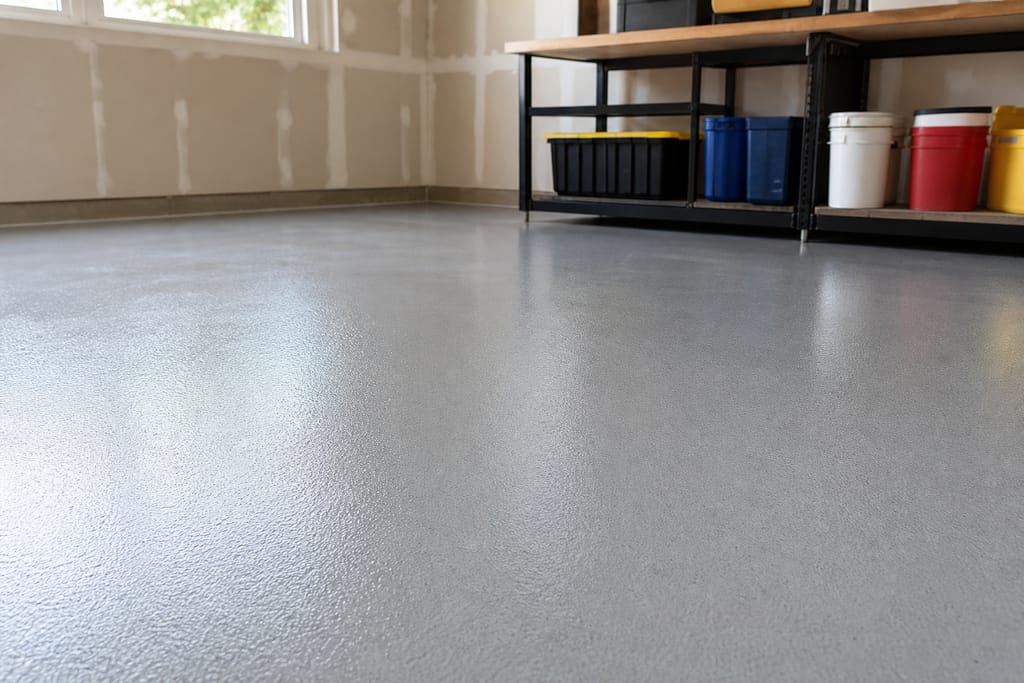
Chemical Barrier Sealant
A sealant resists a broad range of industrial chemicals and solvents.
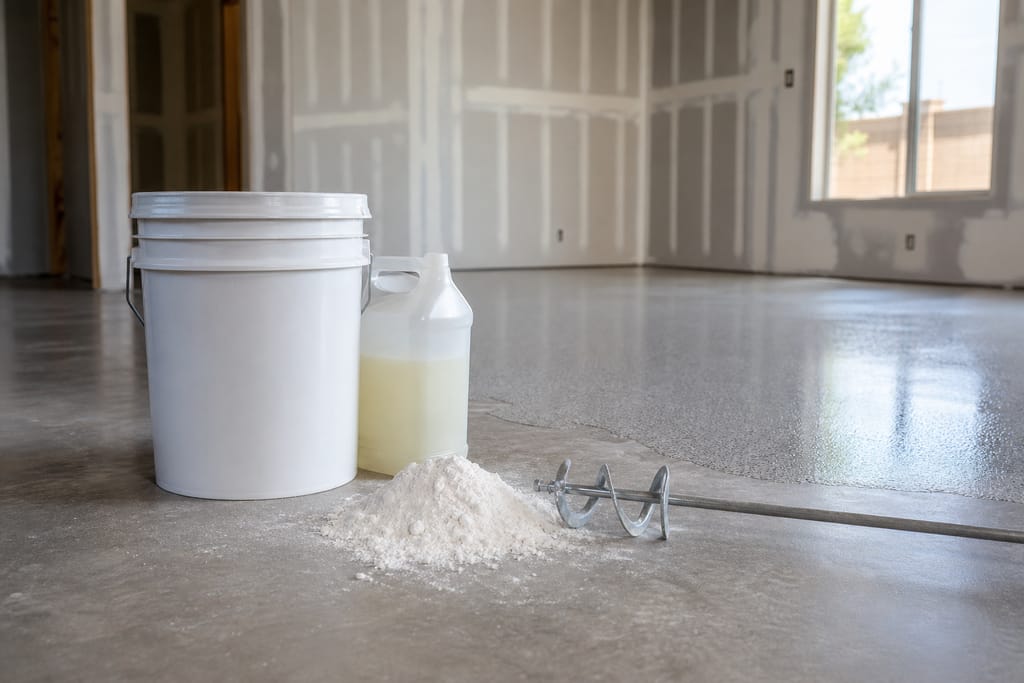
Elastomeric Additive
An additive increases flexibility, helping the coating move with the slab.
Questions on materials?
Get a Free EstimateMore services
Other Epoxy Flooring services
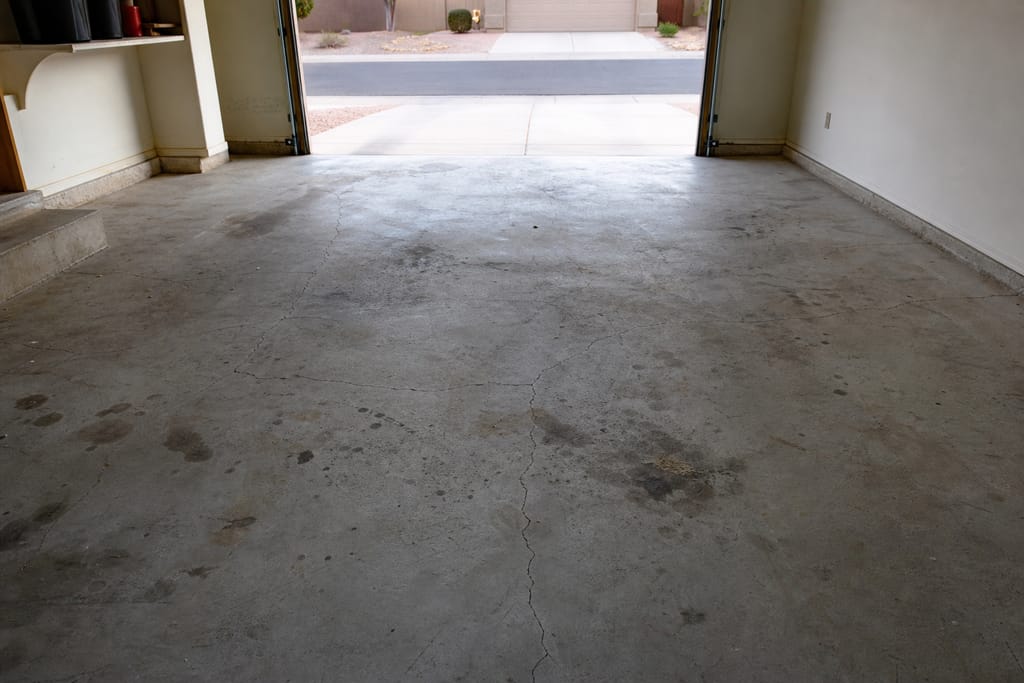
Garage Floor Epoxy Coatings
Garage floor epoxy coatings in Glendale, AZ with grind-first prep and heat-tolerant finishes. Free estimates, no hot-tire pickup.
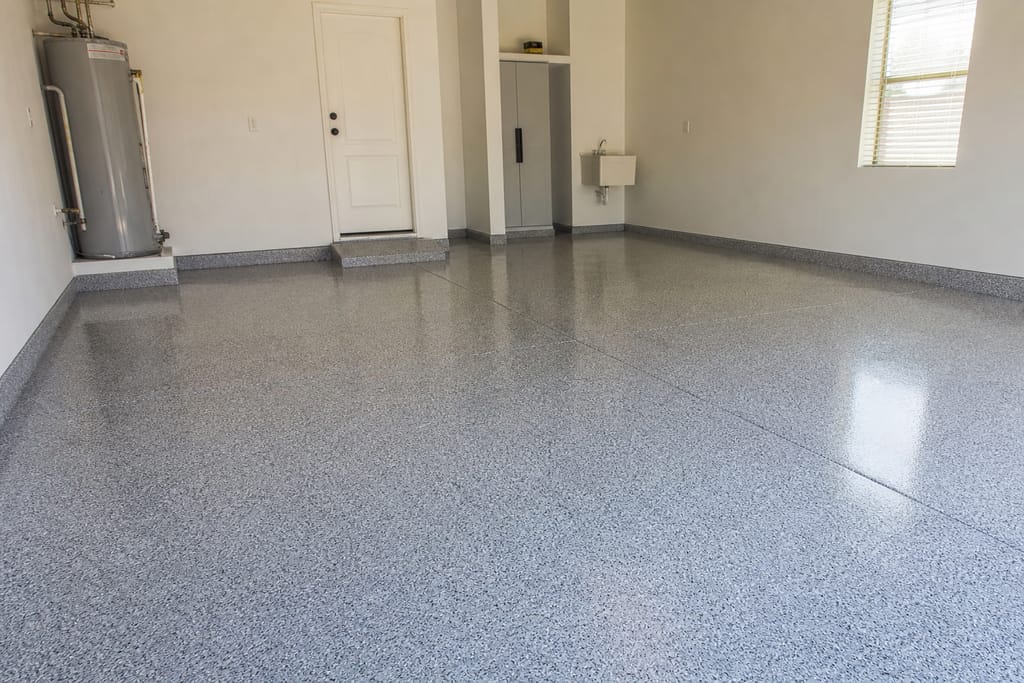
Epoxy Floor Coatings
Epoxy floor coatings for Glendale homes and businesses, UV-stable topcoats and self-leveling options. Free estimates available.
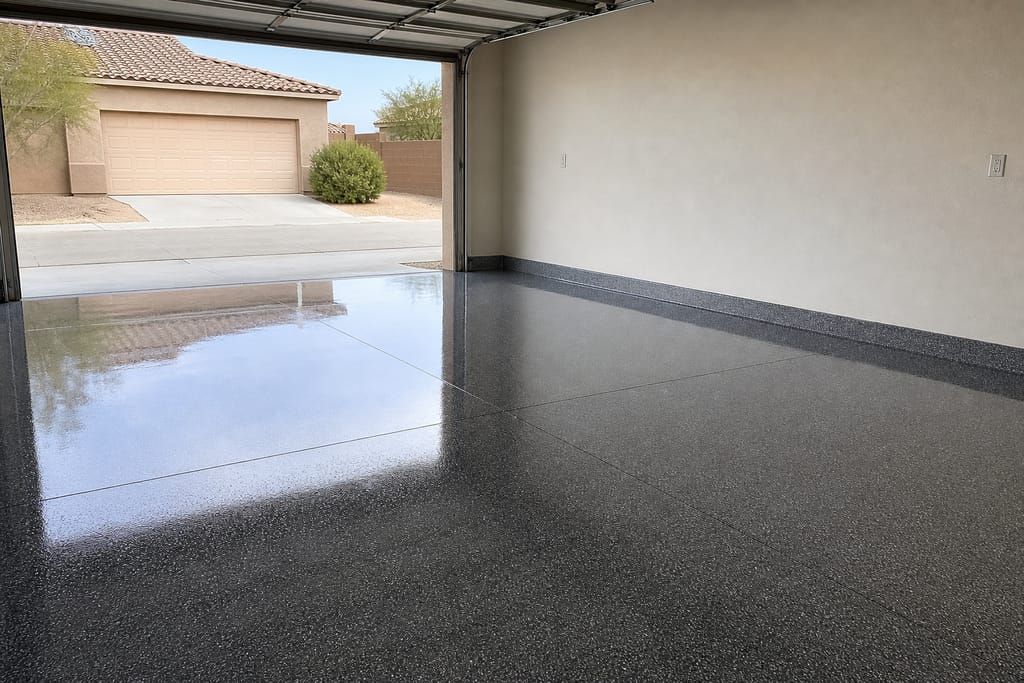
Polyaspartic Floor Coatings
Fast-cure polyaspartic floor coatings in Glendale, AZ. Heat-tolerant, UV-stable finishes with same-day park-ready turnaround. Free estimates.
Ask about Polyurea Floor Coatings
Tell us about the project and how to reach you.